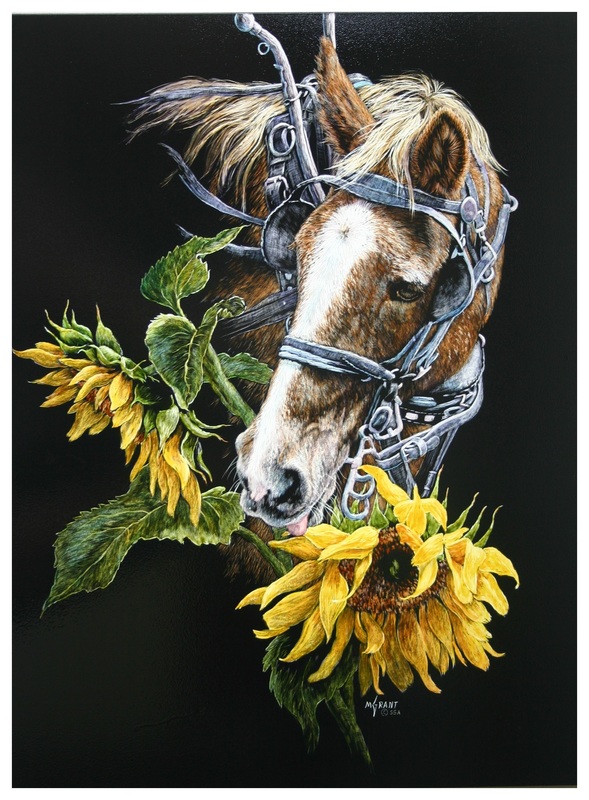
ONE LAST BITE BEFORE WORK
I have had many people ask me my process of creating my scratchboard paintings. The following are pictures of the steps I take to complete each painting. The product I used is Clayboard by Ambersand. It is the best surface I have found. I start by drawing the image on tracing paper, then transfer it on to the Clayboard using white carbon paper. Then using a sewing needle and other assorted sharp tools, I start scratching the image into the Clayboard. When the image is finished with white on black, I use watercolor paint to add the color to the white lines. This is done in thin layers until I get the results I want. Then I go back in and rescratch the highlights. This process is very time consuming, but it gives me the look that I want. The following is a slide show of the different steps.
I have had many people ask me my process of creating my scratchboard paintings. The following are pictures of the steps I take to complete each painting. The product I used is Clayboard by Ambersand. It is the best surface I have found. I start by drawing the image on tracing paper, then transfer it on to the Clayboard using white carbon paper. Then using a sewing needle and other assorted sharp tools, I start scratching the image into the Clayboard. When the image is finished with white on black, I use watercolor paint to add the color to the white lines. This is done in thin layers until I get the results I want. Then I go back in and rescratch the highlights. This process is very time consuming, but it gives me the look that I want. The following is a slide show of the different steps.

